Showing posts with label DIY. Show all posts

Thursday, February 6, 2014

The last two weeks

I have a little problem with finishing off projects that take too long and then I get bored too easily - so last week I was really proud of myself when I finally finished the Rose Afghan I'd been working on for about a year! It was actually quite fun to make - a lot of different blocks worked together and I especially loved making the rose blocks.....


Furthermore I finished 2 of the shelves I had bought at the thrift store.  I finished them off with chalkboard paint and then I thought they needed something else and decoupaged some shabby chic papers into the shelf cavities.  I especially like how the spice rack came out!  Unfortunately I don't have space in our rental home to put them up in the kitchen but hopefully before the end of the year I will be able to hang them - *sigh* - I HATE waiting!


Last year for Valentines I made each of us a little cardboard mailbox so that we can send one another little love notes.  It was a HUGE hit with the two princesses but unfortunately after a few weeks they looked a little worse for the wear and I threw them away.  This year I bought a sturdier mailbox at the craft store - I first had the idea of decoupaging it but in the end I painted it and then finished it off with some painted roses.  The two princesses are in love with it and every day I receive a bunch of sweet little drawings from them and I replace them with little love notes, sometimes with a little Hershey's kiss stuck on (which they especially adore.... ;) )


A while back I saw this project on The Graphics Fairy - Country Living Project and found it so beautiful that I just had to make it even though we are still quite a way from Easter.  The two princesses are still convinced they are made of chocolate and are for their consumption, but I'm very happy with how they turned out!  I'm still pondering on how to display them and am leaning towards placing them inside a nest made of a vine wreath lined with moss....


Last but not least is the type of craft I'm famous for - you know those type of crafts that you think up and you are so impressed with yourself because you have found a cheaper way to recreate something but it takes you ages to finish off.....

I've seen these little grass place mats made of green plastic with little flowers on them that look so pretty on an Easter brunch table.  But they are almost $8 for one and I don't like plastic most of the time so I sat down and came up with an alternative....

I can still remember my mom in the 80's working on her hook rug and being so impressed with myself when she showed me how to do it.  So I thought that this would look almost like grass.  I didn't know if you would still find the canvas for this but lo and behold there it was at the craft store.  I was so excited and I bought some green wool and also some pink flowers to add to the finished place mat.  It looks amazing and mine are bigger than the bought ones but unfortunately one place mat took me well over a week and a half of intermittent sessions to complete - so I'm one down, 3 to go.  I'm hoping to have 4 completed by Easter......


Monday, January 20, 2014

Flashback crafts - Wizard of Oz party

This week I have unfortunately no new crafts to show - not that I haven't been crafting but just that nothing is in a state to really show here.  

I finished the children's bed crowns but The Husband wasn't able to put it up this weekend. Furthermore I'm busy finishing of a crochet blanket that I started last year already and I'm happy to report I'm only 10 blocks from finished and I also started making some Spring place mats which turned out to be a bit more work than anticipated......

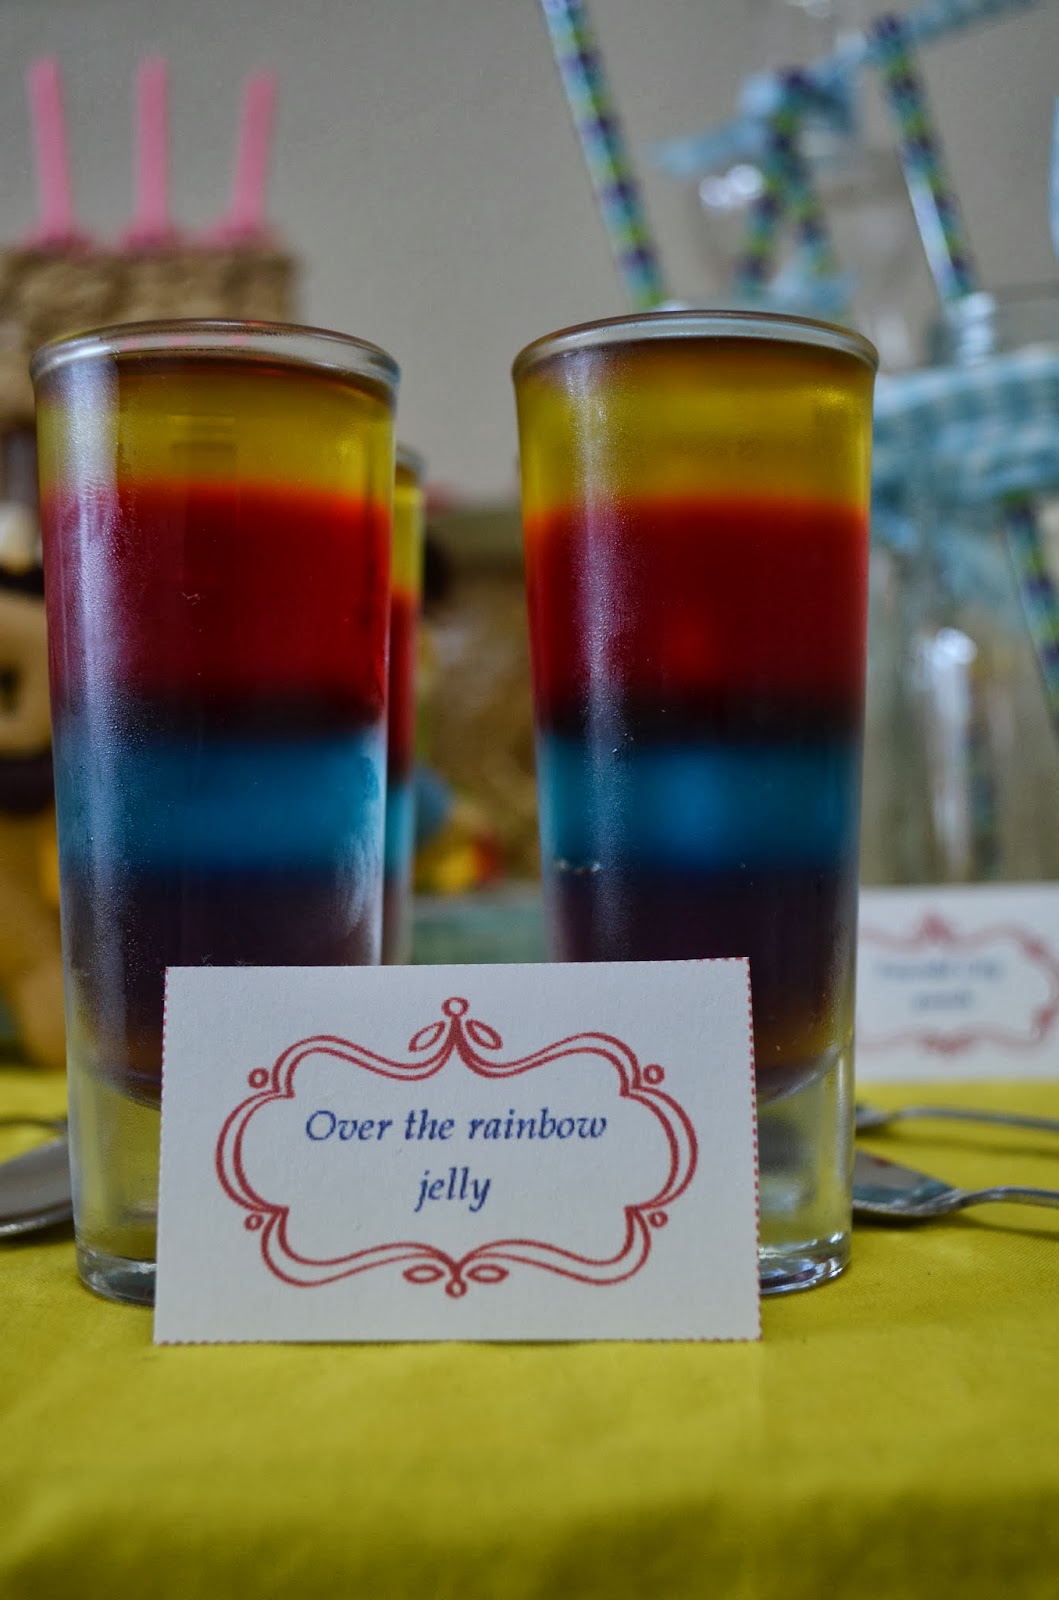
So I decided to post some pictures of my youngest' birthday party December. I was all set to throw her a mermaid party until we watched The Wizard of Oz and she promptly informed me that she wants a Wizard of Oz party - this a month beforehand so I quickly had to scramble to think up new ideas.  

I'm very happy with how everything turned out and she really enjoyed it - she even still plays with the little dolls I made as decoration for the party.


Wednesday, January 15, 2014

Cupcakes, snowstorms and other little things that makes me happy!

I have two vices in life - chocolate and cupcakes! I try to stay away from all these sins as much as possible, I honestly do, but every now and again (with other words every 2 weeks or so) I start to crave cupcakes. 

It isn't a sudden thing, it will build up over a few days. At first I will staunchly think of something else as soon as I start day-dreaming about lovely cupcakes, but it will get worse as the days succeed one another and by day 3 I will normally decide that in order for me not to completely go bonkers I will have to bake cupcakes and when this craving goes with an approaching snow storm (which I love - I LOVE snow!!!!) what is a girl to do but bake cupcakes?

So yesterday, after I had to pick up the kids early from school due to early closure because of said approaching snow storm I decided the kids and I needed some cupcakes (in other words, I NEEDED CUPCAKES!)


At first I wanted to make my go-to recipe that I got from my sister ages ago (which is divine by the way!), but then I decided that life is too short and there are too many recipes out there and I decided to make this vanilla cupcake recipe - http://www.browneyedbaker.com/2010/10/28/vanilla-cupcakes-vanilla-buttercream-frosting/. And oh my, am I ever happy that I did? Lovely moist, extra vanilla-ey and rich cupcakes. I think I'm in love - in fact I love these so much I might even choose them over chocolate cupcakes - I think!  So now I'll be able to go about 2 weeks again without cupcakes - problem solved!

What else did I do this weekend? I made this kissing ball that I saw a picture of on Pinterest and I think it came out quite nicely.


And I also made this dream catcher that I saw here - http://www.usefuldiy.com/diy-simple-dreamcatcher/ except mine doesn't look as nice as theirs. I like the beads that I worked around the hoop but I think I need to add more ribbons and lace at the bottom. I'm still pondering what to add....
And the other thing I would like to add is another colour wall to hang it on because this cream colour of our rental home is soooooo drab but that is something that a renter has to live with and something that will have to wait until we move back to Germany. Until then my poor dream catcher will have to keep on hanging against a background wall that does absolutely nothing for it, but as they say.... C'est la vie!


Tuesday, January 7, 2014

The lampshade in crafting purgatory

Last year I got it into to my mind to re-decorate the living room. Part of that re-decorating dreams involved a tall standing lamp. But knowing that we will most probably return to Europe in the foresee-able future I decided that I didn't want to spend too much money on buying an electrical appliance that will probably not be used because of the schlep of converting the US voltage to European voltage.

A few weeks after I started the re-decorating process (which is still a work in progress....) I discovered American thrift-stores and with that came the hope that I would be able to find a poor, neglected wooden lamp stand that just needed my loving care to restore it to its former beauty. All fired-up I started to think of ways to create a lamp-shade for my stand (that I still had to find) and what would be more fitting for my shabby chic deco than a cozy cream crocheted lamp-shade? 

I bought a cheap lamp-shade as well as some super chunky cream-coloured wool that had an almost chenille-like feel to it.  I made enough chains to fit around the bottom part of the lamp shade. Then I started crocheting some sc's, decreasing a few stitches every row, just to keep it fitting snugly around the lamp shade.  When I had finished this I crocheted a shell border around the bottom and there she was - exactly as I had imagined it, except without a lamp stand!!!!


The poor lamp shade has been sitting in crafting purgatory for the past few months - eagerly awaiting that day when I will finally take it out of the finished crafts' cupboard and put it on top of its stand, but alas! Apparently people do not throw away tall standing lamps, neither do they throw out sturdy, solid wood coffee tables (but that is another sad story....!)

It would appear that the poor lamp shade will have to wait until we get back to Europe where I will buy it a proper lamp stand!


The main bedroom of the gnome villa

I've been making some progress with the refurbishment of the gnome villa.  This weekend I've been working on some furniture for the main bedroom.

First I made a fancy fairy bed with canopy using inspiration from this post - Use Twigs to Make a Rustic Miniature Bed in Several Model Scales. 

Basically I took some twigs, my trusty glue gun and some twine and first hot-glued the twigs together in a sort of bed shape and then I just strengthened everything with the twine. I made a little mattress by needle-felting some wool fleece and then as a final touch I decided that even fairies like to read in bed at night so I added a reading lamp!


For the reading lamp I just hot-glued a bead I had into an acorn cap!

Now I started to think about creating a cozy little corner in the main bedroom where the fairies could sit and relax after a long day painting butterfly wings and all such activities that fairies get up to.....

Then I thought about these extraordinary hanging bubble chairs that I have seen around...... examples of these here.
I mean, aren't these just the height of glam? And since we're upgrading the gnome villa to glamorous status I started to think of ways to recreate these chairs for the villa.

In the end I came up with the idea of crocheting some half spheres and suspend them from the roof using eye-let hooks and ribbon.  I used some waxed string that I had lying around because I liked the colour and I thought they would make the chairs hold their shape better.


 Next up I want to sew little pillows for the chairs and also make the coffee table and a nice rug to add to the coziness! 


Sunday, December 29, 2013

Restoration of the gnome villa


I received a letter via snail-mail the other day from our fairy neighbors requesting my assistance in finding accommodation for some fairies visiting in Spring next year.

It seems their house is a bit crowded, especially since the birth of the twins, Rosalie and Rosamund.

After I gave it some thought I remembered the gnome villa that stood downstairs. Once a glamorous gnome country villa, it fell into disrepair when two princesses started to raid the house of furniture (which they distributed to all their dolls....) during the day, when the gnomes were at work. Finally at their wits' end the gnomes decided to buy a house in another neighborhood and sadly moved away and the once gorgeous villa remained behind, desolate and abandoned, but I was sure with some restoration and new furniture we would be able to restore the villa to its' former glory!


The logical approach to the process would of course have been to spring clean the villa, and that was my intention (promise!) but then I got side-tracked into first finishing the new dining room set.

I started off with some things I already had in the house - some lids from my recycled glass bottle hoard stash (a bigger one for the table and 4 smaller ones for the chairs) and some wooden blocks that have been lying around in my notorious crafts' cupboard (no seriously, my husband is rather afraid of fetching anything out of this cupboard - I think he think it might almost be like the magical wardrobe in The Lion, The Witch and The Wardrobe which might just suck him into another parallel world.....).


Then I painted everything with 2 layers primer - we all know what messy eaters fairies are, and we don't want them damaging the surface of the table after the first feast!


While all this was drying I decided to do the actual spring cleaning. I wiped down the gnome villa and then used my homemade furniture polish - I used this recipe from Crunchy Betty - Wonderfully simple homemade wood polish recipe . In fact I use many of her homemade cleaning and home solutions and they are all amazing! I applied some polish to the poor-dried-out, shouting-for-some-nourishment wood and after about 20 minutes rubbed it down with a clean cloth and it really looks amazing, but I think I will probably repeat the process in a week or two because the wood was really dried out.


Look at how much better the floors of the villa look after the treatment.....


By now the primer was dry and I applied the red paint needed to turn the dining room table and chairs into pretty little mushrooms and of course it had to be a Fly Agaric mushroom because nothing says to me fairy party like those red and white caps! What a cruel twist of fate it is that these are so poisonous because I simply adore these little mushrooms - when walking in the woods and spotting some of these I can almost hear the pitter-patter of little fairy feet....

And seeing as this villa is going to be very posh and hoity-toity - you know I have to think of the future when the fairy guests are gone and I might have to look for new residents for the villa - I painted the table and chairs with a metallic red paint I had lying around from a previous project. You know everyone needs a bit of bling in their lives......


After the red paint I used an ear bud to apply the white spots and then I glued the wooden blocks to the red lids.


I really think these came out amazing and I will leave them out for the fairies tonight to get their opinion on the new furniture.  

But we have a long way to go before the gnome villa will look as elegant as before so I'll have my work cut out for me before the guests arrive in Spring.....